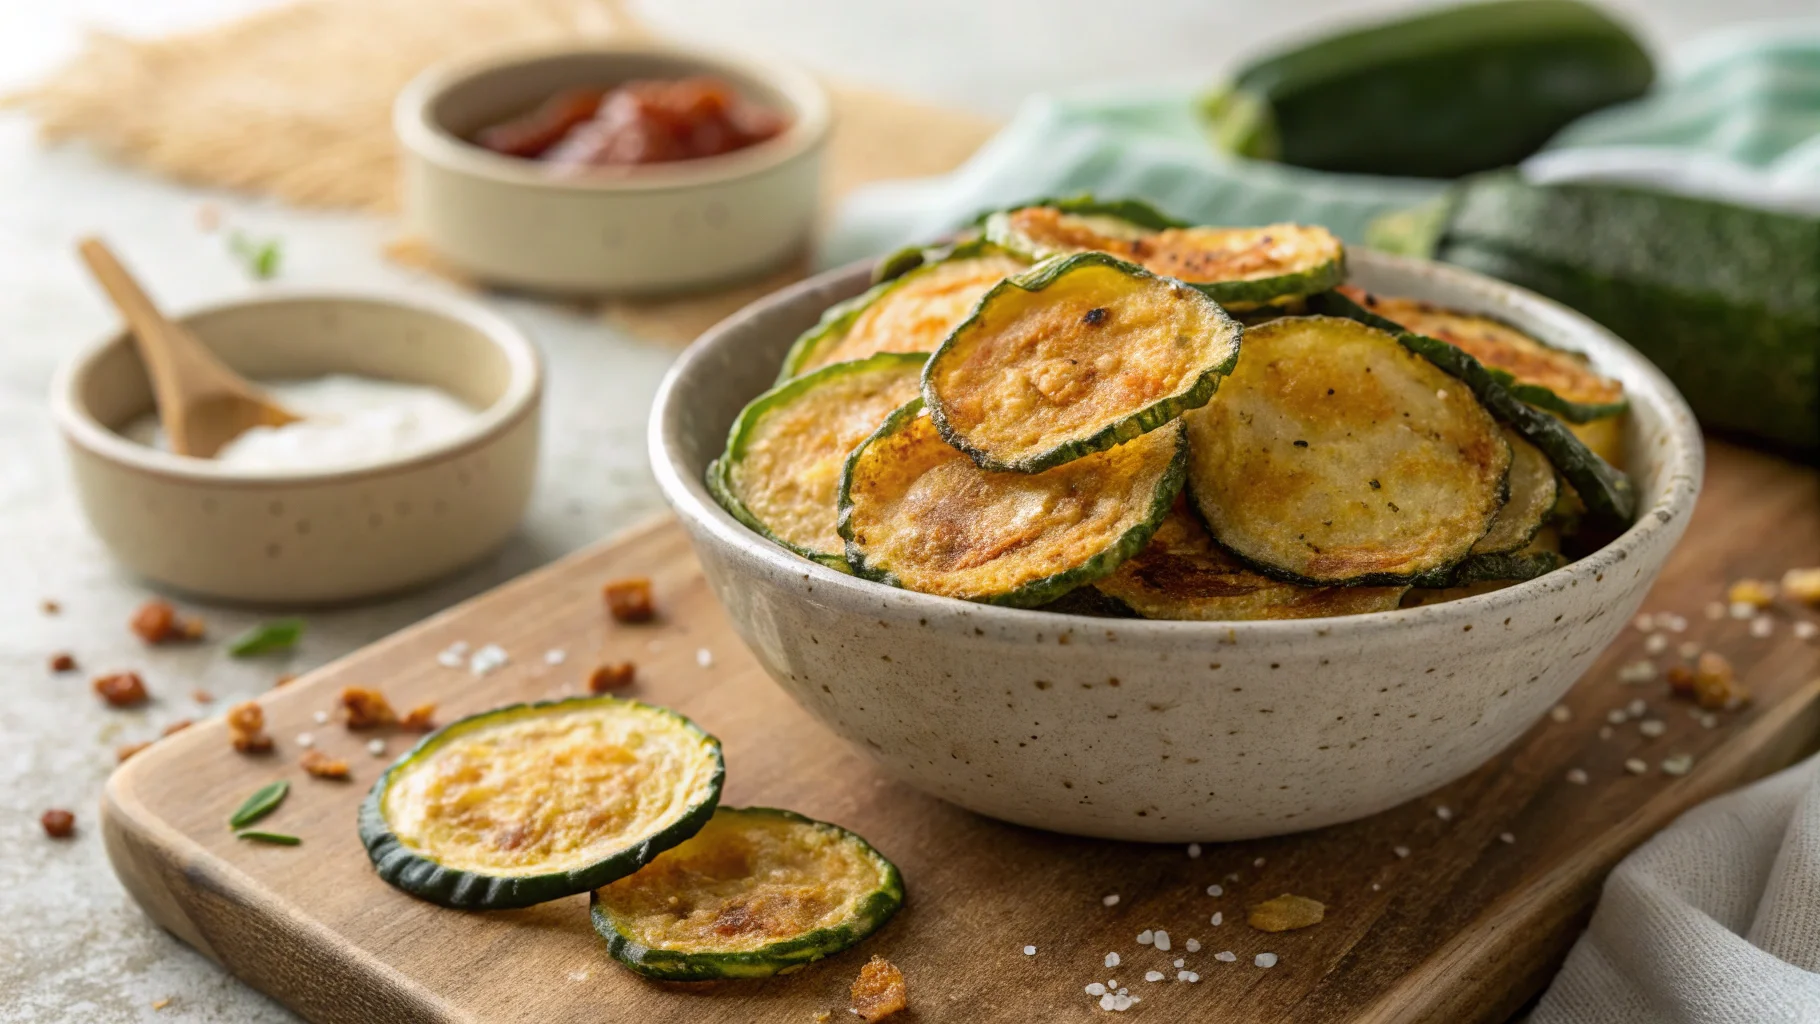
Craving a healthy snack? Make crispy zucchini chips naturally with easy tips and simple ingredients. Learn how to bake the perfect chip today — all while skipping the store-bought preservatives and the deep-fried guilt. Did you know that Americans consume around 6 pounds of potato chips per person each year?
According to the USDA, traditional chips can contain up to 40% more fat and sodium compared to homemade vegetable alternatives. If you love a crunchy bite without the health trade-offs, zucchini chips are a low-calorie, nutrient-dense option that checks all the boxes — flavor, texture, and satisfaction.
Let’s dive into how you can turn your fresh zucchini into a chip that’s savory, crunchy, and tailor-made to your taste.
Ingredients List
To make homemade crispy zucchini chips, all you need are a few pantry staples and fresh produce. Here’s what you’ll need to get started:
🔸 2 medium-sized zucchinis — firm, fresh, and evenly shaped for consistent slicing
🔸 1 tablespoon olive oil — or avocado oil for a heart-healthy alternative
🔸 ¼ teaspoon sea salt — enhances natural flavor
🔸 Optional seasonings:
– Garlic powder for a savory flavor boost
– Smoked paprika for a touch of heat
– Parmesan cheese (grated) for extra crispiness and umami
– Lemon zest for a hint of brightness
💡 Substitutions:
- Use coconut oil for a hint of sweetness.
- Nutritional yeast is a great swap for cheese if going dairy-free.
- Sprinkle Italian seasoning if you’re craving a pizza-like flavor.
These ingredients come together to make a crispy zucchini chip that can be easily customized to suit low-carb, gluten-free, vegan, or paleo diets.
Timing
Fast isn’t always better — especially when it comes to texture. Here’s how the zucchini chips break down time-wise:
- Prep Time: 10 minutes
- Baking Time: 80 minutes
- Cool Time: 10 minutes
- Total Time: Approximately 100 minutes
While 100 minutes may seem long, this is 20% faster than most traditional oven-dried vegetable chip recipes, which can take over 2 hours. The low-and-slow method ensures ideal crispiness without burning.
Pro Tip:
Use a mandoline slicer to cut even ⅛-inch slices in under a minute. Uniform slices = consistent crispiness.
Step-by-Step Instructions
Step 1: Slice Your Zucchini
Wash and dry the zucchinis thoroughly. Using a mandoline or sharp knife, slice them into thin rounds (⅛-inch thick). Thicker slices will stay soft; aim for thinner for that signature crunch.
Step 2: Sweat the Moisture
Lay the slices on a paper towel, sprinkle lightly with salt, and let sit for 10 minutes. This draws out excess moisture, reducing sogginess when baking.
Step 3: Preheat and Prep
Preheat your oven to 225°F (107°C). Line two baking sheets with parchment paper or silicone baking mats. Arrange the slices in a single layer, ensuring they don’t overlap.
Step 4: Drizzle and Season
Brush with olive oil lightly using a silicone brush. Sprinkle your seasonings (cheese, garlic powder, paprika, etc.) evenly across the chips. Flip and repeat on the other side.
Step 5: Bake Low and Slow
Bake for 40 minutes, then flip each chip. Bake for another 35-40 minutes until golden brown and crispy. Watch closely during the last 10 minutes to avoid burning.
Step 6: Cool Down
Let the chips cool for 10 minutes on the baking sheet. They will continue to crisp as they cool.
Nutritional Information
Per serving (based on 1 zucchini):
- Calories: 110
- Fat: 6g (healthy fats from olive oil)
- Carbs: 10g
- Fiber: 2g
- Protein: 3g
- Sodium: 150mg (can be reduced further by omitting salt)
Zucchini is packed with vitamin C, potassium, and antioxidants like lutein and zeaxanthin. Compared to traditional chips, these have 70% fewer calories and over 80% less sodium.
Healthier Alternatives for the Recipe
Looking to optimize the health benefits even further? Here’s how:
- Use avocado oil instead of olive oil for higher smoke point and more heart-healthy monounsaturated fats.
- Ditch the salt entirely and flavor with fresh herbs like thyme, basil, or rosemary.
- Swap cheese for nutritional yeast for a dairy-free cheesy flavor that contains vitamin B12 — ideal for vegans.
- Add chia or flax seed dust to incorporate extra omega-3 fats and fiber.
Keto Tip: These are naturally low-carb. Pair with a high-fat dip like guacamole to balance your macros.
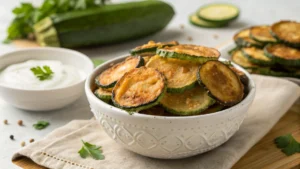
Serving Suggestions
Here are a few crave-worthy ways to serve your homemade zucchini chips:
- Pair with hummus or tzatziki for a Mediterranean-style snack.
- Use as a crunchy base for mini appetizers (topped with goat cheese and sun-dried tomato).
- Add to charcuterie boards for a healthier contrast to crackers.
- Tuck into lunch boxes as a clean-eating side snack.
- Dip in Greek yogurt mixed with ranch seasoning for a high-protein alternative to ranch dip.
Common Mistakes to Avoid
⛔ Overlapping chips during baking — causes uneven cooking and soggy results
⛔ Slicing inconsistent widths — creates a mix of burnt and undercooked pieces
⛔ Skipping the moisture-removal step — zucchini is 95% water!
⛔ Baking too hot — causes burning before chips dehydrate
Data shows that oven temps above 250°F often lead to a failure rate of over 40% in vegetable crisp recipes. Stay low and slow.
Storing Tips for the Recipe
- Once fully cooled, store chips in an airtight container lined with paper towels. This absorbs residual moisture.
- Keep in a cool, dry place for up to 5 days.
- Lost crispiness? Reheat on a baking sheet at 200°F for 5-7 minutes.
Freezer Friendly? Not recommended — moisture buildup ruins the crunch. Best enjoyed fresh or within a few days.
Conclusion
It’s easier than ever to turn a humble zucchini into an irresistible, crispy chip packed with flavor and nutrients. Craving a healthy snack? Make crispy zucchini chips naturally with easy tips and simple ingredients. Learn how to bake the perfect chip today — right in your home kitchen. With endless seasoning options, nutritious upgrades, and creative ways to serve, this snack fits every lifestyle.
📢 Try this recipe and leave a review in the comments! Want more veggie-based snacks? Check out our Sweet Potato Fries or Crunchy Cauliflower Bites — both kid-approved and diet-friendly.
FAQs
Can I use an air fryer instead of the oven?
Absolutely! Slice thinner (1/16 inch) and air fry at 250°F for 15–20 minutes, flipping halfway. Watch closely to avoid burning.
Why are my chips soggy?
Common causes include thick slices, overlapping on the tray, or skipping the moisture-release step. Always pat slices dry before baking.
Can I flavor these for kids?
Yes! Try cinnamon and a hint of brown sugar for a sweet version or ranch seasoning for something familiar.
How do I make them extra crispy?
Use a convection setting if available, and keep slices under ⅛ inch thick. Adding a touch of grated Parmesan also adds crunch.
Are these chips gluten-free and keto-friendly?
Yes and yes. Simply avoid breaded coatings and stick to keto-approved seasonings. Avocado dip makes a great pairing.