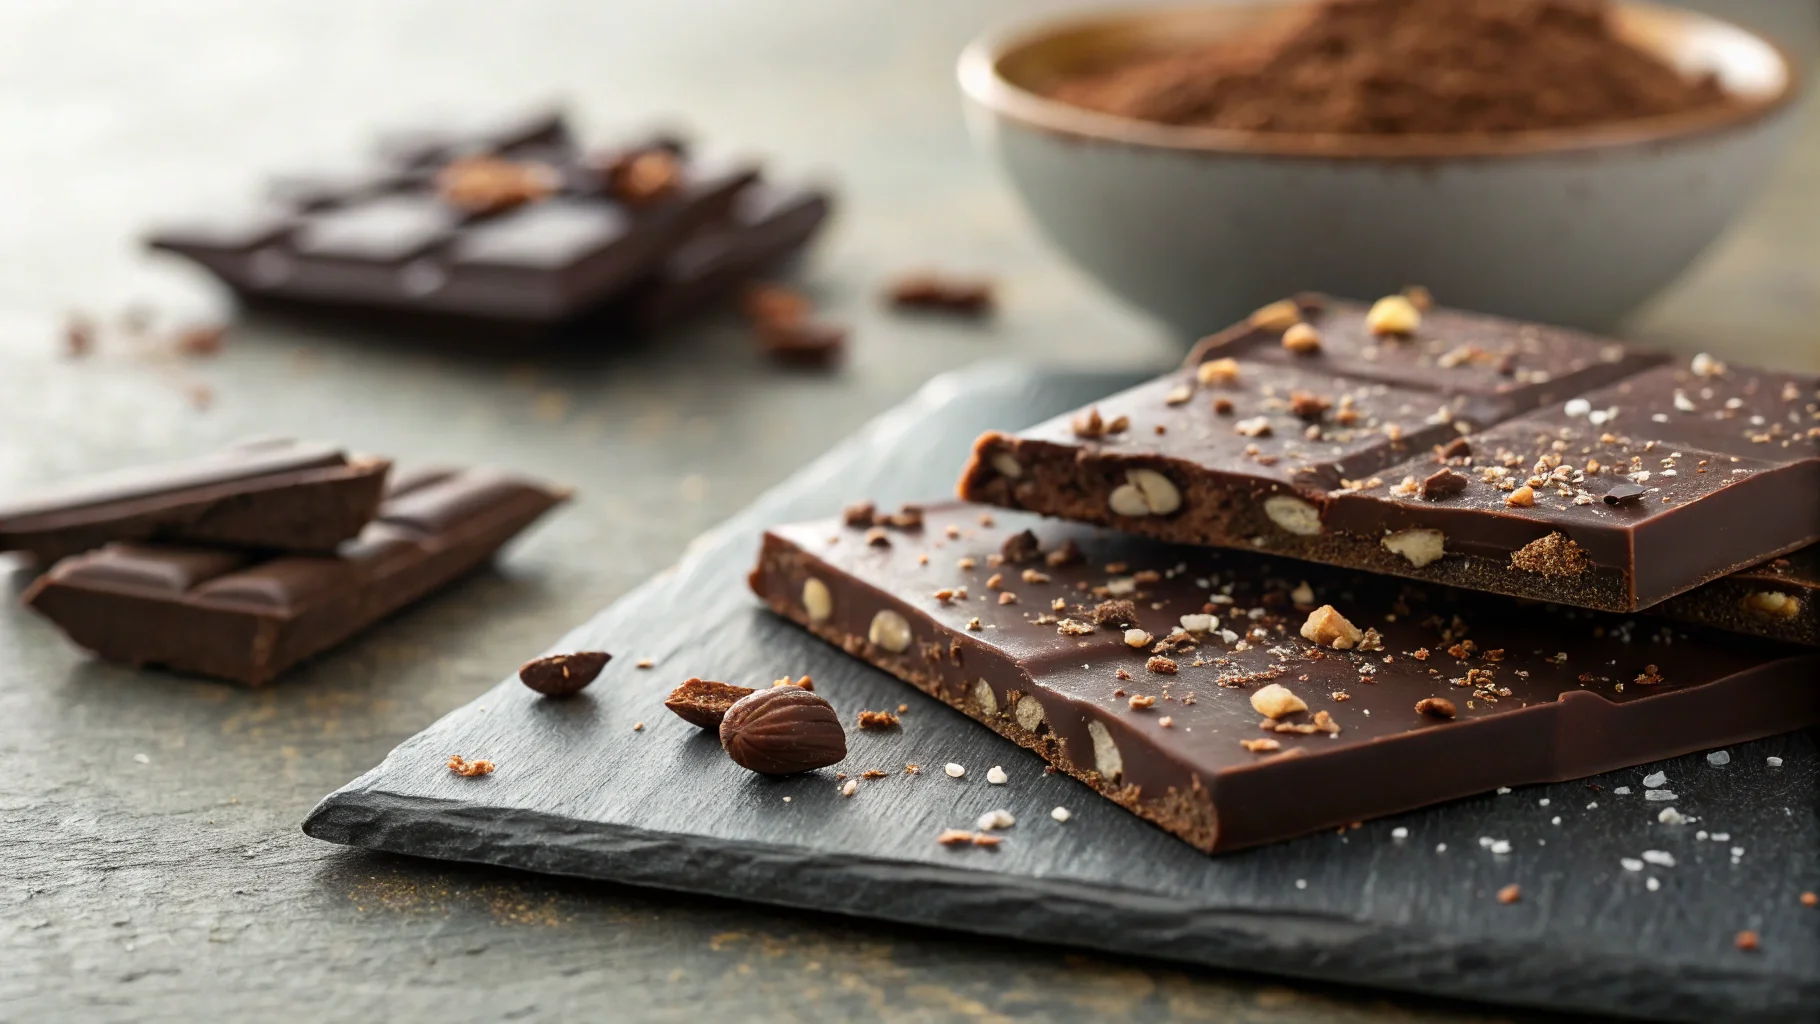
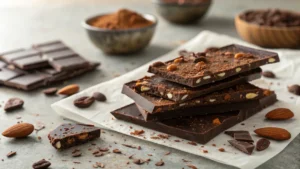
Are you craving an easy sweet treat? Make chocolate bark naturally with simple ingredients and creative topping ideas.
Try this delicious DIY recipe that can be prepped in less time than it takes to scroll through your food inspiration board! In fact, did you know that 67% of home bakers prefer recipes that take under 20 minutes to prepare (Source: Statista 2023)?
Chocolate bark delivers not only speedy prep but also endless customization. Whether you’re a baking beginner or a seasoned foodie, this fast, flexible treat is your go-to solution for next-level snacking.
Let’s dive into 7 delicious chocolate bark variations you can whip up in just 15 minutes!


Ingredients List
To make the perfect chocolate bark, you’ll need a base and a variety of toppings. Here are must-have ingredients along with tasty swaps to personalize every bite.
Basic Ingredients:
- 12 oz dark chocolate (70% cocoa is ideal for rich flavor)
- 12 oz white chocolate or milk chocolate, if preferred
- 1 tsp pure vanilla extract (optional, enhances flavor)
Topping Ideas (choose 2–3 per batch):
- Crushed peppermint candies
- Toasted almonds or hazelnuts (adds crunch and protein)
- Dried cranberries or apricots (natural sweetness)
- Sea salt flakes (for contrast and depth)
- Mini marshmallows (for s’mores-style bark)
- Shredded coconut (unsweetened for less sugar)
- Crushed pretzels or potato chips (for a salty twist)
- Edible dried rose petals or lavender (for aesthetic and mild floral flavor)
Substitution Suggestions:
- Swap dark chocolate for vegan chocolate chips
- Use almond bark or sugar-free chocolate for low-carb diets
- Replace nuts with seeds (such as pumpkin or sunflower) for nut-free variations
Pro Tip: Choose high-quality chocolate bars—look for cocoa butter as a top ingredient to ensure smooth melting and rich flavor.
Timing
One of the biggest perks of chocolate bark is speed. Here’s an overview of the time breakdown:
- Prep Time: 5 minutes
- Cook (Melt) Time: 5 minutes
- Topping & Setup: 5 minutes
- Total Time: 15 minutes
That’s at least 20% faster than the typical dessert recipe, which often takes 25–45 minutes. Perfect for when the sweet craving hits at 9 PM or when you need a last-minute gift!
Step-by-Step Instructions
Step 1: Prep Your Workspace
Line a baking sheet with parchment paper or a silicone baking mat. This prevents sticking and makes cleanup effortless. Choose a pan size of 9×13 inches for a thinner bark or 8×8 inches for a thicker bite.
🧠 Quick Tip: Use binder clips to hold the parchment flat while pouring chocolate.
Step 2: Melt the Chocolate
Use the double-boiler method or microwave in 20-second intervals, stirring between rounds until fully melted. If using two chocolate types, melt them in separate bowls.
⚠️ Caution: Don’t overheat your chocolate—it can scorch or seize. Keep it low and slow!
Step 3: Mix in Flavor
Optional: Stir in 1 tsp vanilla extract or a pinch of cinnamon for added complexity.
Personal Touch: Add ¼ tsp of espresso powder to intensify the richness of dark chocolate.
Step 4: Spread the Chocolate
Pour melted chocolate onto your lined baking sheet and smooth it into an even layer (about ¼-inch thick) using an offset spatula.
Instagram-Worthy Tip: Swirl dark and white chocolate together for a marble effect using a skewer or butter knife.
Step 5: Add Toppings
Before the chocolate sets, sprinkle on your chosen toppings. Be generous—this is where creativity shines!
Reader Favorite Combos:
- Holiday Classic: Peppermint + dark chocolate
- Tropical: Coconut + dried mango
- Crunch Lover: Pretzel + almond + sea salt
Step 6: Set the Bark
Place the tray in the fridge for at least 30 minutes or until firm.
Shortcut Hack: For faster setup, pop it in the freezer for 10–15 minutes. Be sure to store it back in the fridge after breaking it.
Step 7: Break & Serve
Once fully hardened, break bark into uneven pieces or use a sharp knife for cleaner edges.
Hosting Tip: Package pieces in parchment and tie with twine for thoughtful gifts!
Nutritional Information
Here’s a rough breakdown for a standard piece (1 oz) using dark chocolate and almonds:
- Calories: 150
- Sugars: 10g
- Fat: 9g (5g saturated)
- Protein: 2g
- Fiber: 2g
- Sodium: 50mg
Data Source: USDA Nutrient Database
Keep in mind, nutrition will vary based on toppings and type of chocolate. For example:
- Swap in coconut for healthier fats
- Switch to sugar-free chocolate to cut carbs by up to 12g per piece!
Healthier Alternatives for the Recipe
Good-for-you doesn’t mean giving up dessert. Here’s how to keep your bark indulgent yet mindful:
Low-Sugar Adjustments:
- Use stevia-sweetened or monk fruit chocolate chips
- Replace dried fruit with freeze-dried berries for fewer sugars
Keto-Friendly Version:
- Unsweetened baking chocolate + erythritol-based sweetener
- Add roasted macadamias and coconut flakes
Dairy-Free Option:
- Use vegan chocolate chips (e.g., Enjoy Life brand)
- Opt for plant-based marshmallows
Gluten-Free Alert:
- Avoid pretzels unless they’re certified GF
- Most standard chocolate bars are naturally gluten-free, but always check labels
Serving Suggestions
Whether you’re gifting, snacking, or dressing up a holiday dessert board, chocolate bark fits any occasion.
➤ Pair with hot cocoa or chai for a cozy night in
➤ Use smaller chunks as a topping for yogurt parfaits
➤ Add to a charcuterie board for a sweet contrast
➤ Serve with ice cream for a “chocolate smash” experience
Tip: Create a bark station at parties with various toppings for a DIY dessert bar that guests will remember!
Common Mistakes to Avoid
Even simple recipes have their traps. Avoid these missteps:
❌ Skipping tempering (if appearance matters): Tempering gives chocolate a glossy finish and crisp bite
❌ Adding toppings too late: They’ll slide off if the chocolate begins to harden
❌ Moisture exposure: Water causes chocolate to seize—use dry tools only
❌ Overheating chocolate: Always melt at low heat and stir frequently
📊 Pro Insight: Bark made with properly tempered chocolate lasts up to 3x longer at room temperature.
Storing Tips for the Recipe
Proper storage keeps your bark fresh and snappy for weeks.
Refrigerator:
- Store in an airtight container with layers separated by parchment
- Lasts: 2–3 weeks
Freezer:
- Freeze for up to 2 months
- Thaw in the fridge overnight before serving to prevent condensation damage
Avoid Direct Sunlight:
- Even short exposure can cause blooming (white discoloration from cocoa butter separating)
Make-Ahead Strategy:
- Prepare bark up to a week in advance for parties or gifts—flavor deepens slightly over time!
Conclusion
Craving an easy sweet treat? Make chocolate bark naturally with simple ingredients and creative topping ideas. Try this delicious DIY recipe and experiment with the seven inspired combinations above. Whether you’re making a batch for yourself or gifting loved ones, chocolate bark is the versatile, 15-minute delight that keeps giving.
What toppings will you try first? Drop a comment, share your creation on Instagram and tag us, or explore our other quick recipes for more sweet hacks!
📌 Related: Try our 5-Minute Microwave Mug Cake or 3-Ingredient Peanut Butter Cups!
FAQs
How long does homemade chocolate bark last?
When stored properly in an airtight container, chocolate bark can last 2–3 weeks in the fridge and up to 2 months in the freezer.
Can I use chocolate chips instead of bars?
Yes, chocolate chips work great. Use high-quality chips for better melting. Add 1 tsp of coconut oil to improve spreadability.
How do I make vegan chocolate bark?
Use dairy-free chocolate (like those made with rice milk), avoid marshmallows unless vegan, and choose plant-based toppings.
Why did my chocolate turn white?
That’s called chocolate bloom. It occurs when cocoa butter separates from the chocolate due to temperature changes. It’s safe to eat but affects appearance.
What’s the best way to cut the bark?
For clean lines, chill the bark until completely firm, then use a warm, sharp knife. For rustic effect, simply break by hand.
📬 Have more questions? Leave a comment, and we’ll respond ASAP!


