Are You Craving a Quick, Tasty Lunch? These Chicken Caesar Wraps Are Easy to Make, Packed with Flavor, and Perfect for Meal Prep. Try This Simple Recipe Today.
Did you know 63% of working adults say they skip lunch or compromise with fast food due to time constraints? If you’ve found yourself reaching for another boring sandwich or an overpriced salad bowl, it’s time for a delicious upgrade. Enter: Chicken Caesar Wraps. Craving a quick, tasty lunch?
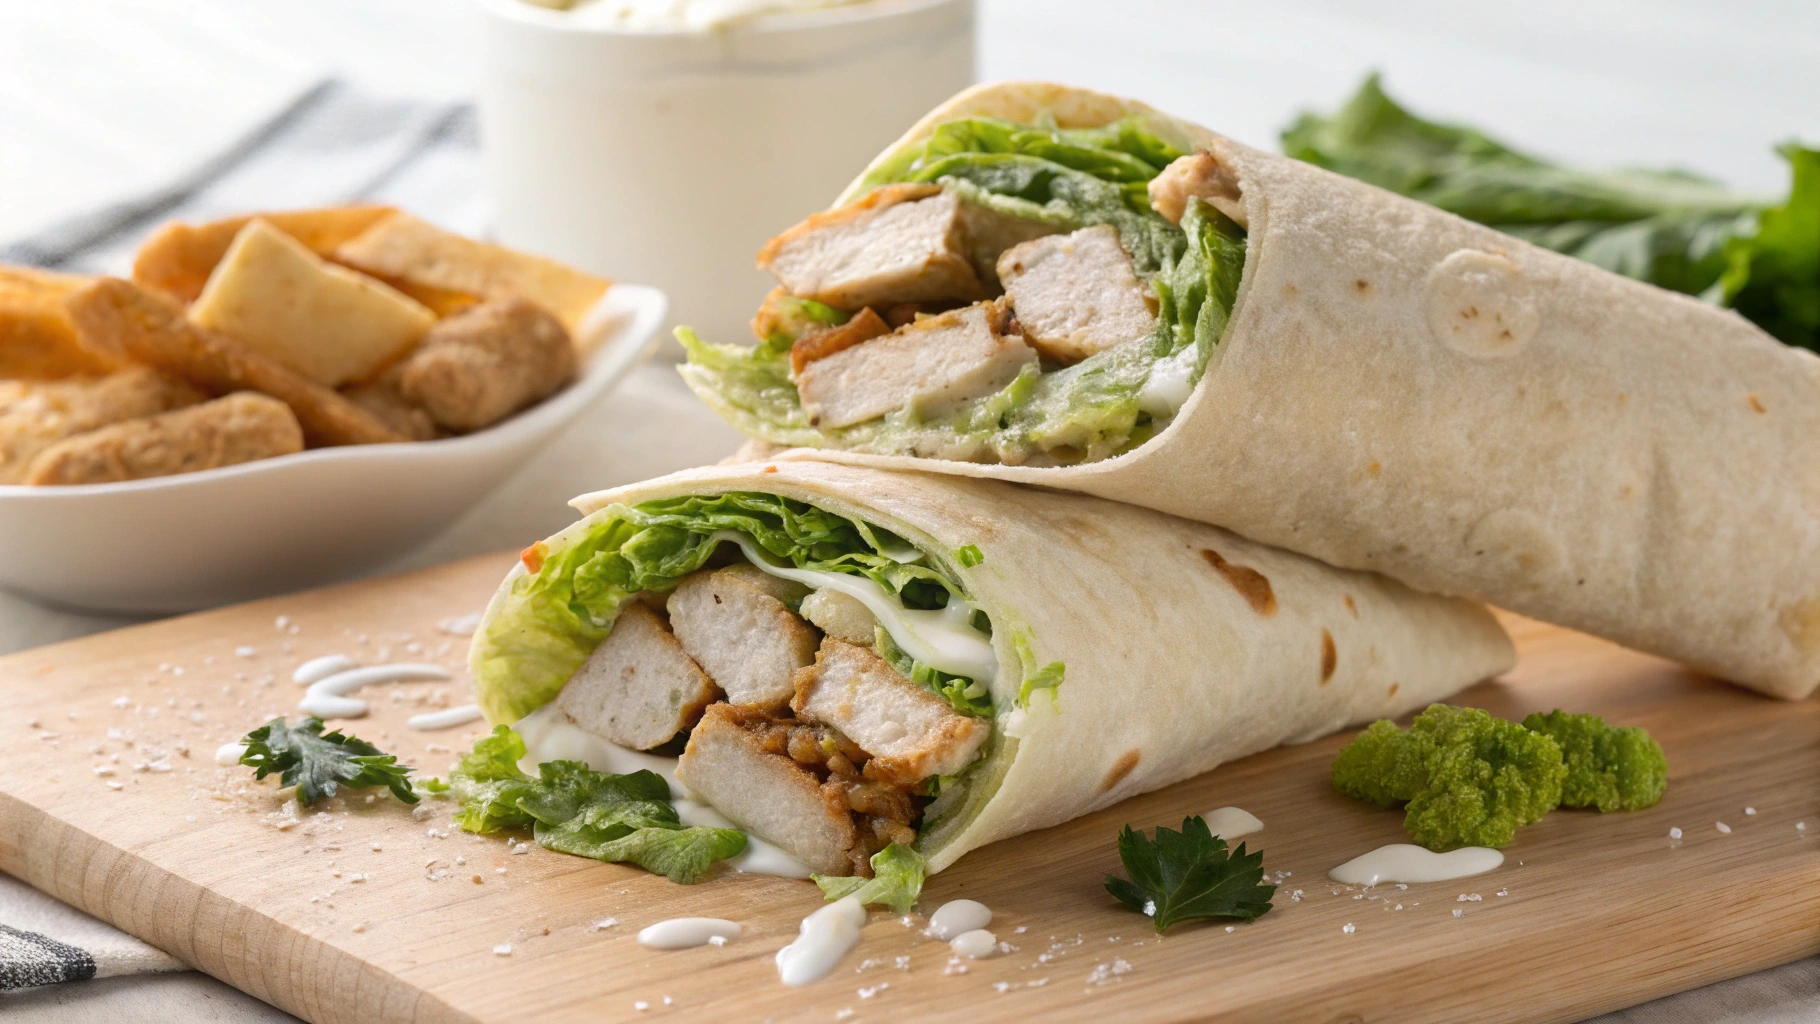
These Chicken Caesar Wraps are easy to make, packed with flavor, and perfect for meal prep. Try this simple recipe today and bring restaurant-quality freshness to your kitchen in under 30 minutes.
Whether you’re feeding a family or prepping weekday lunches, this go-to wrap delivers the perfect blend of creamy Caesar dressing, tender grilled chicken, crisp lettuce, and a satisfying crunch—all wrapped up in a soft tortilla. Let’s dive into how you can master this versatile favorite in just seven easy steps.


Ingredients List
Here’s what you’ll need to create these crave-worthy Chicken Caesar Wraps. These ingredients are easily customizable based on your taste preferences or dietary needs.
🌯 Main Ingredients:
- 2 boneless, skinless chicken breasts (grilled or baked)
- 4 large flour tortillas or wraps (whole wheat or spinach wraps are great swaps)
- 1.5 cups chopped romaine lettuce (for that crisp, restaurant-style crunch)
- ⅓ cup grated Parmesan cheese
- ½ cup Caesar salad dressing (opt for low-fat or vegan versions if preferred)
- ¼ cup crunchy croutons (adds texture – opt for baked or gluten-free as needed)
- Freshly cracked black pepper (to taste)
🥄 Optional Add-ons & Swaps:
- Sliced cherry tomatoes or cucumbers for added freshness
- Avocado slices for creamy richness
- Use shredded rotisserie chicken for a quicker prep option
- Dairy-free Parmesan and vegan Caesar dressing for a vegan version
- Swap chicken with grilled tofu or chickpeas for a plant-based protein
Personal Tip: I like to add a splash of lemon juice to brighten up the flavors, especially when meal prepping.
Timing
⏲️ Let’s break it down to show just how fast and easy this wrap is to pull together:
- Preparation Time: 10 minutes
- Cooking Time (if cooking chicken): 15 minutes
- Assembly Time: 5 minutes
- Total Time: Just 30 minutes!
That’s 25% less time than an average homemade lunch preparation, making this recipe ideal for busy people who don’t want to skimp on flavor.
Time-Saving Tip: Grill or bake your chicken ahead of time and store it in portions for up to 3 days in the fridge.
Step-by-Step Instructions

Step 1: Prepare the Chicken
Season your chicken breasts with salt, pepper, garlic powder, and a touch of olive oil. Grill over medium-high heat for 6–7 minutes per side or bake at 400°F for 20–25 minutes until fully cooked.
Pro Tip: Let your chicken rest for 5 minutes before slicing to lock in the juices.
Step 2: Chop Your Greens
Wash and chop romaine lettuce into bite-sized pieces. Pat dry with a paper towel to prevent soggy wraps.
Flavor Boost: Mix in a handful of arugula for added peppery notes.
Step 3: Slice the Chicken
Once rested, slice your grilled chicken into thin strips or cubes for easy wrapping and even distribution.
Meal Prep Reminder: This step is perfect for batch-prepping. Pre-slice and store extra for additional wraps or salads later in the week.
Step 4: Warm the Tortillas
Slightly warm tortillas in a skillet over medium heat for 10–15 seconds per side. This makes them more pliable and less likely to tear.
Efficiency Tip: Microwave all 4 tortillas wrapped in a damp paper towel for 20 seconds instead.
Step 5: Assemble the Wrap
Lay out your tortilla flat. Begin layering your ingredients:
- A generous handful of chopped lettuce
- Sliced chicken
- A sprinkle of Parmesan
- A spoonful of Caesar dressing
- A few croutons for crunch
- Optional fresh cracked pepper
Tip: Don’t overfill—you want to be able to wrap tightly without bursting.
Step 6: Fold it Right
Fold the bottom third of the tortilla up, then fold in the sides and roll tightly. Slice diagonally for presentation if desired.
Presentation Hack: Use toothpicks to hold the wraps together for lunchboxes or serving.
Step 7: Serve or Store
Serve immediately while fresh or wrap tightly in cling film or foil. Store leftovers in the fridge for up to 3 days.
Pairing Suggestion: Serve alongside a cup of tomato soup, fresh fruit, or sweet potato chips.
Nutritional Information
Each Chicken Caesar Wrap (using full-fat dressing and standard ingredients) contains:
- Calories: ~450–500 kcal
- Protein: 32g
- Fat: 22g (swap in low-fat dressing to reduce this by up to 30%)
- Carbohydrates: 28g
- Fiber: 4g
- Sugar: 2g
🔍 Data Insight: Compared to a store-bought Caesar wrap (~650 calories), this homemade version gives you complete portion control and up to 25% fewer calories.
Healthier Alternatives for the Recipe
Want a guilt-free Caesar wrap that still hits the spot? Try these swaps:
- Use Greek yogurt-based Caesar dressing instead of traditional (reduces fat by 40%)
- Choose a low-carb or whole grain tortilla for added fiber
- Omit croutons and add crunchy cucumber or shredded carrots
- Replace chicken with grilled tempeh, lentils, or chickpeas for vegetarian protein
- Add a pinch of chia or flax seeds for omega-3 boosts
Customization Tip: For keto followers, serve the filling in lettuce cups instead of tortillas.
Serving Suggestions
Get creative with how you enjoy these versatile wraps:
- Slice into pinwheels for quick party appetizers
- Pair with a side of quinoa salad or zesty black bean salsa
- Pack in lunchboxes with a small fruit salad and hummus
- Serve alongside soup or oven-roasted vegetables
Personal Tip: Add a small container of extra Caesar dressing on the side for dipping when serving to guests or kids.
Common Mistakes to Avoid
🚫 Using cold, dry tortillas – they’ll crack when folding. Always warm them first.
🚫 Overfilling the wrap – results in mess and tearing.
🚫 Skipping the resting period for chicken – leads to drier bites.
🚫 Dressing too early – makes the wrap soggy if you’re meal prepping.
Experiential Insight: Prep ingredients separately and assemble just before eating for best texture and freshness.
Storing Tips for the Recipe
📦 Best Practices:
- Separate wet and dry ingredients: Store lettuce and dressing separately to maintain crunch.
- Wrap tightly in foil or parchment paper for on-the-go convenience.
- Keep refrigerated wraps for meal prep no longer than 3 days for optimal freshness.
- For freezer storage, assemble without lettuce or dressing—add those fresh after reheating.
Freezer Tip: Freeze cooked chicken in individual portions using silicone bags or containers to make wrap assembly even faster.
Conclusion
Chicken Caesar Wraps are the perfect answer when you’re craving a quick, tasty lunch. These Chicken Caesar Wraps are easy to make, packed with flavor, and perfect for meal prep. Try this simple recipe today and say goodbye to boring lunches. With minimal prep and ingredients that are both customizable and nutritious, this wrap checks every box: time-efficient, filling, and irresistibly flavorful.
Give it a try and let us know—did this wrap win over your lunch routine? Share your creations in the comments, tag us on Instagram, or explore our other delicious wraps and meal-prepping tips here. Let your lunch game level up!
FAQs
🔍 What’s the best type of chicken to use?
Boneless, skinless chicken breasts or thighs work best. Grilling brings out the smoky flavor, while rotisserie chicken is a great time-saver.
🥗 Can I make this recipe ahead of time?
Yes! Prep all the components in advance and store them separately. Assemble just before eating for maximum freshness.
🌱 Is there a vegan version?
Absolutely! Use tofu or chickpeas as a protein substitute, vegan Caesar dressing, and plant-based Parmesan.
🌯 My wrap keeps falling apart—what am I doing wrong?
Be sure not to overfill and always keep your tortilla warm and pliable before folding. Wrapping in parchment also helps secure it in packed lunches.
🥶 Can you freeze Chicken Caesar Wraps?
You can freeze the chicken filling, but not the full assembled wrap (especially if it contains lettuce or dressing). Instead, freeze component parts and assemble fresh.


