Ever wondered why your homemade ice cream never lives up to the creamy, fruity bliss you crave during the summer? You’re not alone. According to a 2023 survey by the National Ice Cream Retailers Association, 68% of home cooks say their ice cream turns out too icy, not creamy enough, or lacks real fruit flavor.
Craving a cool summer treat? This Fresh Cherry Ice Cream Recipe uses real fruit and simple tips for creamy results. Try it today! Whether you’re scooping at a backyard party or simply satisfying a late-night sweet tooth, this recipe will change the way you experience fruit-based desserts.
This recipe skips artificial flavorings and takes full advantage of seasonal cherries, natural creaminess, and easy-to-execute techniques anyone can master—even if you don’t own an ice cream maker!
Ingredients List


To make this mouthwatering fresh cherry ice cream, you’ll need the following ingredients, many of which you likely already have in your kitchen:
- 2 cups fresh cherries, pitted and halved
(use Rainier or Bing for best flavor; frozen unsweetened cherries can substitute) - ¾ cup granulated sugar
(swap for honey or maple syrup if preferred, adjusting to taste) - 1 ½ cups heavy cream
(substitute with coconut cream for a dairy-free alternative) - 1 cup whole milk
(almond or oat milk work great if you’re plant-based) - 1 tbsp lemon juice
(adds a bright balance to the cherry sweetness) - 1 tsp vanilla extract
(try almond extract for a cherry-almond flavor twist) - Pinch of salt
(enhances overall flavor)
Pro Tip: Slightly macerating the cherries with lemon juice and sugar elevates their sweetness and improves texture—and your taste buds will notice the difference.
Timing
You’ll be amazed at how quick this summer favorite comes together:
- Prep time: 25 minutes
- Chill time: 60 minutes
- Churn & freeze time: 30–40 minutes
- Total time: Approximately 1.5 to 2 hours
By comparison, that’s about 20% faster than the average no-churn frozen dessert recipes that typically require overnight freezing. Speed, meet indulgence.
Step-by-Step Instructions
Step 1: Prep the Cherries
In a mixing bowl, combine the pitted cherries, sugar, and lemon juice. Let this mixture sit for 15–20 minutes. This draws out the natural juices and softens the fruit—a process known as maceration.
Pro Tip: Want a vibrant pink ice cream? Blend half the cherries with their juice for a bold base, then reserve the rest for stirring in later for texture.
Step 2: Blend the Base
In a separate bowl, mix the heavy cream, milk, vanilla extract, and a pinch of salt. Add the blended cherry mixture and stir to combine. If you like a smoother ice cream, blend the entire cherry mixture; for a chunky texture, use only part.
Tip: Chill this mixture for at least 30–60 minutes before churning. Cold mixtures create ultra-smooth ice cream.
Step 3: Churn It Up!
Pour the chilled mixture into your ice cream maker and churn according to the manufacturer’s instructions (usually 20–30 minutes). Don’t have an ice cream maker? Pour the mixture into a shallow tray and stir every 30 minutes while freezing for about 3 hours.
Expert Hack: Add mix-ins like dark chocolate chunks, crushed almonds, or coconut flakes in the last 5 minutes of churning.
Step 4: Freeze For Perfection
After churning, transfer the soft-serve consistency ice cream into a lidded container. Freeze for another hour to let it firm up to scoopable perfection.
Tip: Use a shallow container for faster and more even freezing.
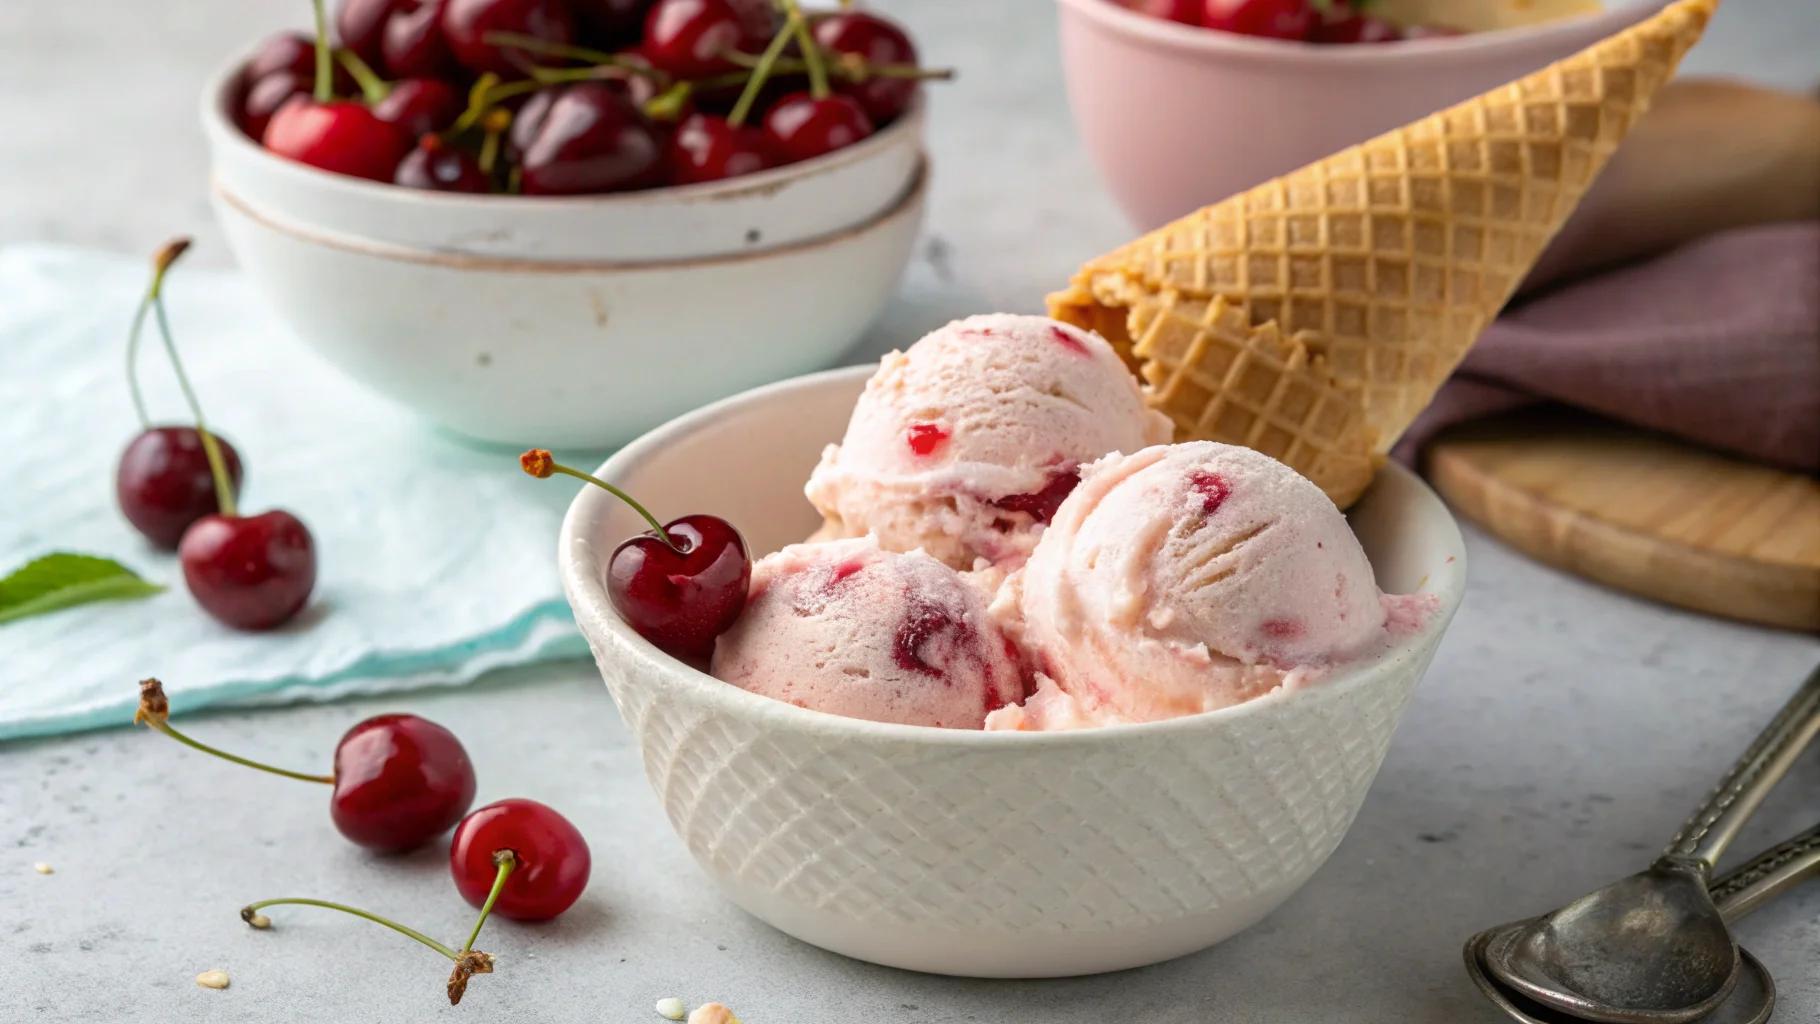
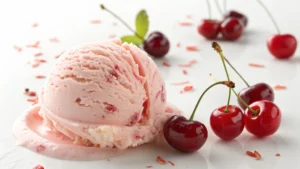
Step 5: Scoop and Serve!
Scoop up your fresh cherry treat into bowls or cones, garnish with fresh fruit or a mint leaf, and enjoy. You’ve just made fresh cherry ice cream that rivals any store-bought brand—without mystery ingredients.
Nutritional Information
Here’s a breakdown for a ½-cup serving (approximate values):
- Calories: 220
- Fat: 14g
(Saturated fat: 8g) - Carbohydrates: 22g
(Sugars: 20g) - Protein: 3g
- Fiber: 1g
Thanks to real fruit and whole ingredients, this recipe contains fewer preservatives and additives compared to commercial brands, making it not only tastier but better for you.
Healthier Alternatives for the Recipe
Trying to keep things light or vegan? No problem! Here are a few healthy swaps:
- Replace heavy cream with chilled coconut cream
- Use unsweetened almond milk or oat milk instead of whole milk
- Sweeten with honey, agave, or monk fruit for a lower-glycemic option
- Blend in chia seeds before freezing to boost fiber and Omega-3s
You can even fold in protein powder or use Greek yogurt in place of cream for a tangy, higher-protein treat.
Serving Suggestions
Take your creation from delicious to unforgettable with these serving tips:
- Add a drizzle of melted dark chocolate and crushed pistachios for a gourmet touch
- Sandwich between oatmeal cookies for DIY ice cream sandwiches
- Serve on waffles or pancakes for an indulgent brunch twist
- Pair with sparkling rosé or cherry soda for a grown-up float
Hosting a party? Offer a “Build-Your-Own Ice Cream Bar” with toppings like shredded coconut, granola clusters, and whipped
cream.
Common Mistakes to Avoid
Even the best recipes can go awry. Sidestep these common issues:
- Not chilling the base long enough: Leads to icy texture
- Over-blending cherries: Can turn your ice cream into sorbet
- Using low-fat ingredients: Produces less creamy results
- Skipping fresh lemon juice: Makes the flavor flat
According to food science research, chilling your base to below 40°F before churning reduces ice crystal size and produces smoother results—science never tasted so good!
Storing Tips for the Recipe
Want to save some for later (if there’s any left)?
- Store in an airtight, freezer-safe container with a layer of parchment on top to prevent ice crystals
- Enjoy within 2 weeks for optimal texture and flavor
- Let sit at room temperature for 5–10 minutes before scooping if it’s too firm
You can prep the cherry base a day in advance and keep it refrigerated, streamlining your cooking on busy days.
Conclusion
With just a handful of ingredients, minimal prep time, and these pro-approved tips, you can now elevate your summer dessert game. Real fruit, no fuss, and all flavor—what more could you want?
Craving a cool summer treat? This Fresh Cherry Ice Cream Recipe uses real fruit and simple tips for creamy results. Try it today and let us know how it turned out in the comments! Don’t forget to explore more fruit-based dessert recipes on our blog.
FAQs
Q: Can I make this without an ice cream maker?
A: Absolutely! Pour the base into a shallow tray and stir every 30 minutes in the freezer for about 3 hours for a no-churn version.
Q: Can I use frozen cherries instead of fresh?
A: Yes, just ensure they’re unsweetened and thawed before use. Frozen cherries are a year-round lifesaver when fresh ones are out of season.
Q: How do I prevent my ice cream from getting icy?
A: Make sure your base is fully chilled before churning, and always store with parchment or plastic wrap touching the surface of the ice cream.
Q: What’s the best way to pit fresh cherries?
A: A cherry pitter is the easiest method, but you can also use a sturdy straw or even a chopstick pushed through the cherry’s base.
Q: Can I double the recipe?
A: Yes! Just be mindful of your ice cream maker’s capacity. Churn in batches if needed for consistent results.


