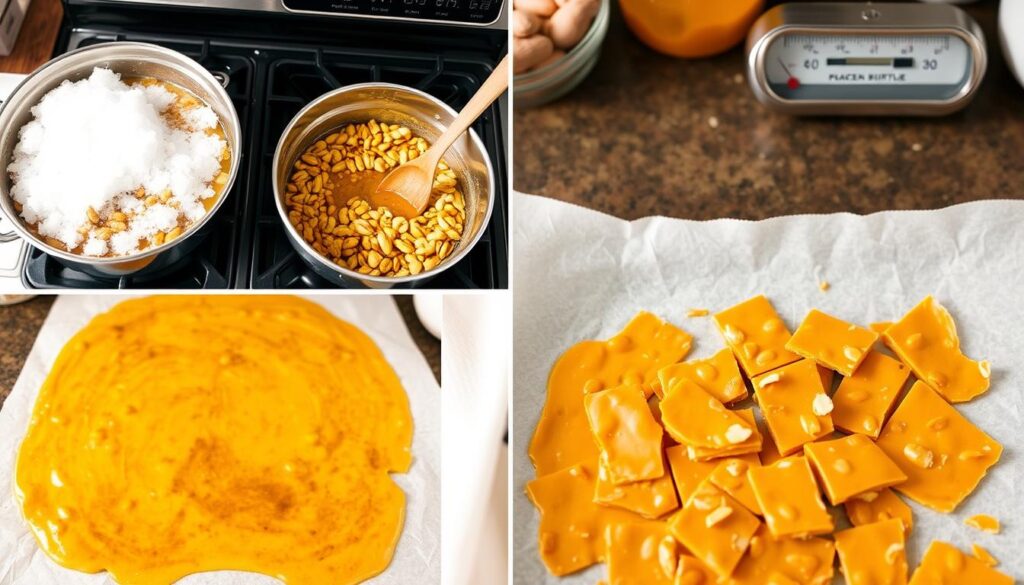
The sweet smell of caramelizing sugar reminds me of my grandmother’s kitchen. It was where our holiday traditions came alive. Her legendary peanut brittle candy recipe was a highlight every year.
Making perfect homemade brittle is more than a recipe. It’s about capturing a moment of culinary magic. This recipe will show you how to make a sweet treat with caramelized sugar and roasted peanuts. It’s crunchy and delicious in every bite.
Whether you’re an experienced cook or just starting, this recipe is for you. It’s a classic confection that will impress anyone. Get ready to make your kitchen smell amazing with this treat.
What Makes the Perfect Peanut Brittle
Making the ultimate sweet and salty candy is an art. It’s not just about the ingredients. It’s about the technique, temperature, and precision.
Traditional vs Modern Candy Making Methods
Candy makers use two main ways to make peanut brittle:
- Traditional stovetop method
- Modern microwave technique
The stovetop method gives more control. The microwave method is faster. Both need careful attention to temperature and timing.
Key Characteristics of Great Brittle
A great peanut brittle should have these qualities:
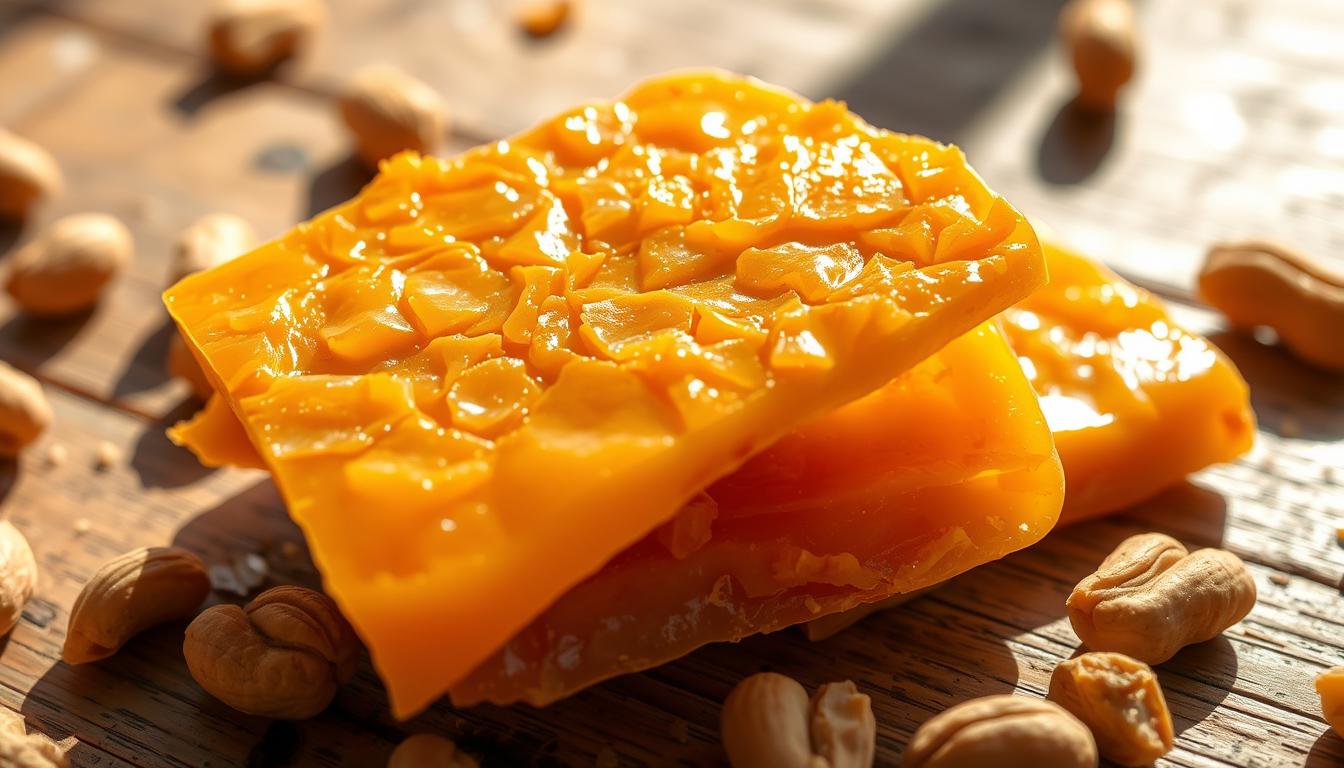
- Crystal-clear golden color
- Delicate, thin consistency
- Balanced sweet and salty flavor
“Never spread or flatten the mixture, and you will have extremely light brittle with delicate air pockets.”
The Science Behind Crunchiness
| Factor | Impact on Brittle |
|---|---|
| Cooking Temperature | 325°F (optimal point) |
| Sugar Crystallization | Prevents grainy texture |
| Corn Syrup | Ensures smooth consistency |
Knowing these scientific principles can turn good peanut brittle into an extraordinary culinary experience.
Essential Ingredients for Homemade Peanut Brittle
Making the perfect homemade peanut candy needs careful attention and quality ingredients. Your journey to making peanut brittle starts with picking the right parts. These will turn simple items into a tasty treat.
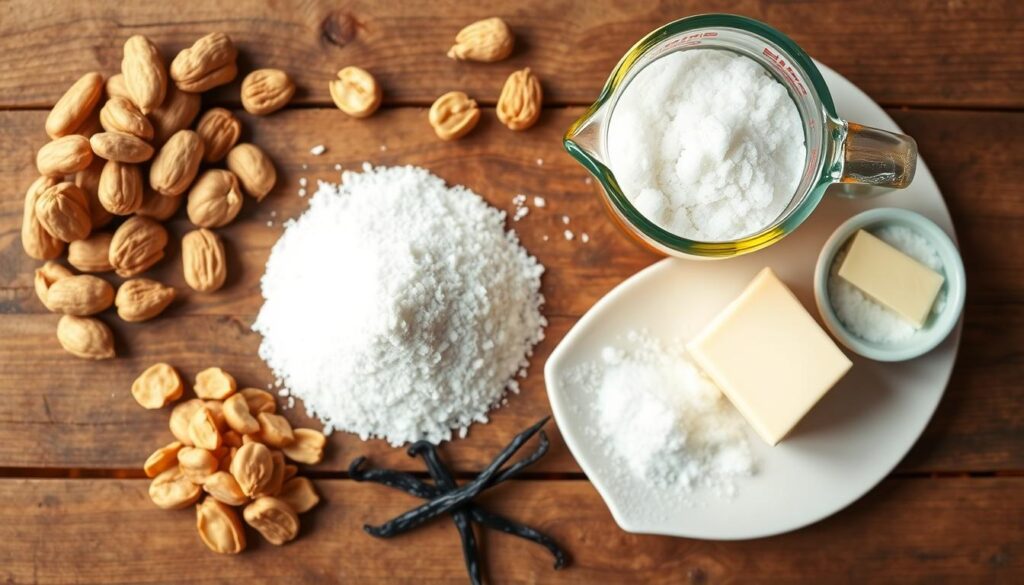
Let’s look at the main ingredients for making great peanut brittle:
- Granulated Sugar: 2 cups (400g) – The main sweetener and base
- Raw Peanuts: 1½ cups (260g) – Adds crunch and real flavor
- Light Corn Syrup: 1 cup (240mL) – Makes the texture smooth and prevents crystals
- Unsalted Butter: ¾ cup (170g) – Brings richness and depth
- Water: ½ cup (120mL) – Helps dissolve sugar
- Vanilla Extract: 1 teaspoon – Boosts the flavor
- Baking Soda: 1 teaspoon – Gives the brittle its unique texture
The secret to great homemade peanut candy is using fresh, top-notch ingredients. Raw peanuts are key – they give a stronger, nuttier taste than roasted ones.
“The secret to exceptional peanut brittle is in the details of ingredient selection and preparation.”
Getting the right mix is important. Use 2 cups of sugar to 1½ cups of peanuts for a perfect balance. Always measure with a kitchen scale for exactness.
Pro tip for making peanut brittle: Have everything measured and ready before cooking. This makes the candy-making process easy and stress-free.
Kitchen Tools and Equipment Needed
Making peanut brittle at home is easy with the right tools. Knowing what you need makes the process fun and successful.
👉 Essential Cooking Tools
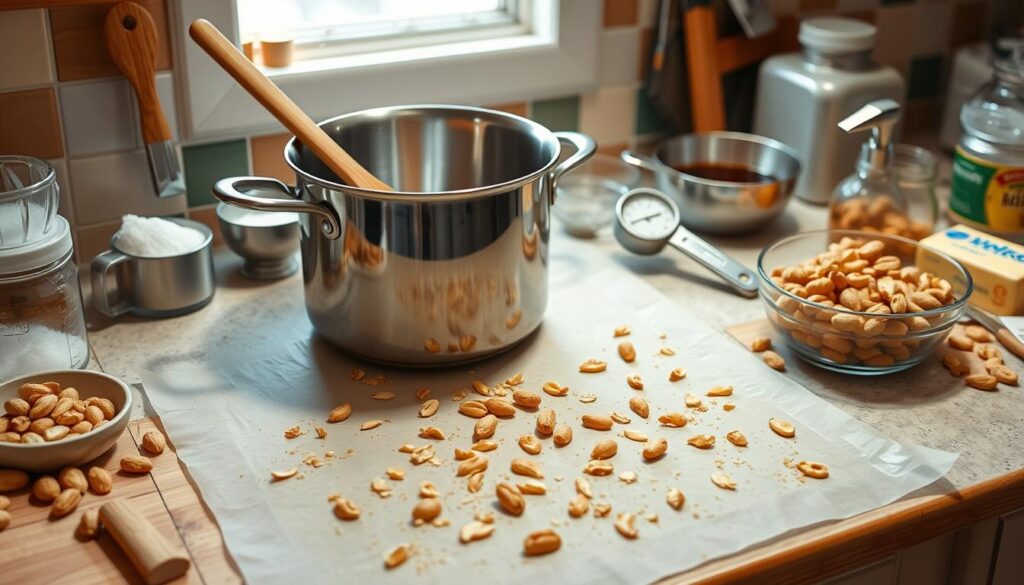
Start your candy-making journey with the right tools. Here’s what you need for perfect peanut brittle:
- Heavy-bottomed saucepan with a thick base to prevent burning
- Precise candy thermometer for accurate temperature monitoring
- Wooden spoon for stirring sugar mixture
- Baking sheet lined with parchment paper
- Measuring cups and spoons
👉 Optional Helpful Equipment
These tools can make your candy-making better:
- Silicone spatula for easy scraping
- Digital instant-read thermometer
- Kitchen scale for precise ingredient measurements
👉 Safety Equipment
Working with hot sugar needs safety:
- Heat-resistant oven mitts
- Long-sleeved shirt
- Apron to protect clothing
“The right tools can transform your candy-making from challenging to enjoyable!”
Investing in these tools will help you make delicious homemade peanut brittle. Remember, precision and safety are crucial for this sweet treat.
Preparing Your Workspace for Candy Making
Setting up the right workspace is key for making homemade peanut candy. Making peanut brittle needs fast action and exact timing. Being organized is your best tool in the kitchen.
“Mise en place is the difference between chaos and culinary success.” – Professional Chef’s Wisdom
Before starting your peanut brittle, follow these important steps to prepare your workspace:
- Clear your countertop completely
- Gather all ingredients and tools in advance
- Set up a designated cooling area
- Prepare safety equipment nearby
How well you organize your workspace affects your homemade peanut candy’s quality. Make sure you have these items ready:
| Category | Essential Items |
|---|---|
| Safety Equipment | Oven mitts, bowl of ice water, long-handled wooden spoon |
| Measuring Tools | Digital kitchen scale, measuring cups, candy thermometer |
| Preparation Surface | Silicone baking mat, greased baking sheet |
Pro tip: Keep a clean, damp cloth nearby to quickly wipe up any sugar spills and prevent sticky messes during your peanut brittle preparation.
Candy making is fast, and high temperatures are involved. Having everything ready will help you make perfect peanut brittle every time.
Step-by-Step Cooking Instructions
Making peanut brittle at home needs precision and careful technique. Learning how to make brittle at home can improve your candy-making skills. It will also impress family and friends with a delicious homemade treat.
Temperature Control Mastery
Successful peanut brittle candy recipe depends on accurate temperature management. Use a reliable candy thermometer to track heat levels precisely. Your goal is to reach specific temperature milestones:
- Initial sugar mixture: Heat to 250°F
- Add peanuts: Continue heating to 310°F
- Final temperature: Aim for 300°F hard-crack stage
Essential Stirring Techniques
Proper stirring prevents sugar from burning and ensures even heat distribution. Gentle, consistent stirring is key to creating smooth, crisp brittle. Use a long-handled wooden spoon to mix ingredients without splashing hot sugar.
Ingredient Timing Strategy
Adding ingredients at the right moment makes a significant difference in your peanut brittle. Follow this precise sequence:
- Combine sugar, corn syrup, and water first
- Bring mixture to initial boil
- Add peanuts when temperature reaches 250°F
- Incorporate butter
- Remove from heat and quickly mix in baking soda
“Timing is everything in candy making – patience creates perfection”
Your homemade peanut brittle will be a delightful, crunchy treat when you master these critical cooking techniques.
The Role of Baking Soda in Brittle Making
Baking soda is key to making peanut brittle crunchy. When you mix it with hot sugar, magic happens. Your candy turns light and airy, with a unique texture.
Knowing how baking soda works can improve your peanut brittle. Here’s why it’s so important:
- Creates tiny air bubbles for a lighter texture
- Triggers a rapid chemical reaction at high temperatures
- Helps develop a more complex flavor profile
- Prevents sugar from crystallizing too quickly
Adding baking soda at the right time is crucial. It makes the mixture foam up. This creates the perfect peanut brittle crunch.
Pro Tip: Stir quickly and thoroughly when adding baking soda to ensure even distribution and maximum texture enhancement.
Temperature is key. Your sugar mixture should be between 300°F and 310°F before adding baking soda. This temperature is perfect for the chemical reaction that makes the brittle texture.
Start with a small amount of baking soda, like 1/2 teaspoon. Too much can make it too foamy. Too little won’t make it light enough.
Microwave Method for Quick Peanut Brittle
Looking for an easy candy recipe that saves time? The microwave method for making peanut brittle is your perfect solution for how to make brittle at home without spending hours in the kitchen.
Making peanut brittle in the microwave is a game-changer for home cooks. This quick method delivers delicious results in just 15 minutes. It’s perfect for busy home bakers who want a sweet treat without complex techniques.
👉 Time and Temperature Guidelines
When using the microwave, follow these critical guidelines for perfect peanut brittle:
- Use a microwave with 1000-1200 watts for best results
- Cook sugar and corn syrup mixture for 3 minutes (in two separate 1.5-minute intervals)
- Roast peanuts for 2 minutes
- Final cooking time after adding butter and peanuts: 2 minutes
👉 Special Microwave Considerations
Pro tip: Always use a microwave-safe glass bowl and adjust cooking times based on your specific microwave’s wattage. Lower wattage microwaves might require slightly longer cooking periods.
“The secret to great microwave peanut brittle is watching the color and consistency carefully.” – Candy Making Expert
Key recommendations for your microwave brittle adventure:
- Never double the recipe – make one batch at a time
- Warm your baking sheet to 200°F before starting
- Allow 30-45 minutes cooling time before breaking
Your homemade peanut brittle will be crisp, delicious, and ready in a fraction of traditional cooking time. Enjoy your quick and easy candy creation!
Proper Cooling and Breaking Techniques
Making perfect peanut brittle needs careful steps in cooling and breaking. Your homemade brittle needs precision for that crisp texture everyone loves.
When pouring hot sugar, work fast but gently. Cool it on a large, rimmed baking sheet with a silicone mat or buttered parchment. Don’t spread or flatten it – let it settle naturally.
“The secret to great peanut brittle is patience during the cooling process.”
👉 Cooling Guidelines
- Let the brittle cool at room temperature
- Total cooling time: 2-3 hours
- Don’t refrigerate, as it can add moisture
👉 Breaking Techniques
- Wait until it’s completely cool and firm
- Use clean hands or a clean mallet
- Break it into pieces, as you like
Temperature is key in making peanut brittle. The sugar mix should hit 300-310°F (149-154°C) for the hard crack stage. A quick test is dropping a bit into cold water – it should harden right away.
| Storage Method | Duration | Conditions |
|---|---|---|
| Room Temperature | Up to 8 weeks | Airtight container |
| Freezer | Up to 3 months | Freezer-safe container |
Pro tip: For crunchiness, eat your homemade brittle within a few days. The longer it sits, the more moisture it absorbs, losing its crisp texture.
Storage Tips and Shelf Life
Storing your holiday peanut brittle right is key to keeping it fresh. It ensures your homemade treat stays delicious for weeks.
👉 Best Storage Containers for Preserving Freshness
Choosing the right container is vital for your peanut brittle’s quality. Glass or ceramic containers with tight lids are best. They keep it crunchy and prevent moisture.
- Use airtight containers with rubber seals
- Choose containers made of glass or hard plastic
- Avoid containers with loose-fitting lids
👉 Understanding Humidity and Its Impact
Humidity can ruin your peanut brittle’s texture. Keeping humidity below 50% stops stickiness and mold.
| Storage Condition | Expected Shelf Life |
|---|---|
| Room Temperature (60-70°F) | Up to 3 months |
| High Humidity (>50%) | 1 week or less |
| Properly Sealed Container | 6-8 weeks |
Pro tip: Store your holiday peanut brittle in a cool, dry place. Keep it away from sunlight. Always check for spoilage signs before eating.
“The key to great homemade peanut candy is not just in the making, but in the careful preservation.” – Candy Preservation Expert
Remember, homemade peanut brittle is best for about a week. But with the right storage, you can enjoy it for much longer.
Troubleshooting Common Issues
Making perfect peanut brittle can be hard. Home cooks often face problems that ruin their sweet treat. Knowing common issues helps you get it right.
👉 Typical Peanut Brittle Problems
- Soft or Sticky Brittle: Usually caused by not reaching the correct temperature (300°F)
- Burnt Sugar: Happens when heat is too high or uneven
- Grainy Texture: Can result from improper sugar crystallization
Getting the perfect peanut brittle needs precise temperature control. A candy thermometer is key. It ensures you hit the hard-crack stage between 300-310°F.
*Temperature is the secret weapon in creating that perfect peanut brittle crunch!*
👉 Microwave Method Challenges
Different microwave wattages affect cooking times. Always watch closely and use a thermometer to check the sugar’s temperature.
| Issue | Potential Cause | Solution |
|---|---|---|
| Uneven Cooking | Microwave Power Variations | Stir Frequently, Use Lowest Power Setting |
| Burnt Edges | Hot Spots in Microwave | Rotate Dish, Use Microwave-Safe Flat Dish |
Remember, patience and attention to detail are crucial when creating your homemade peanut brittle. Practice makes perfect!
Making homemade brittle is more than a recipe. It’s a fun journey that connects you to a sweet tradition. You’ll see how simple ingredients can turn into a crunchy, memorable snack that everyone loves.
The magic of holiday peanut brittle is in its flexibility. You can use the stovetop or microwave method to make it. With just sugar, butter, and peanuts, you can impress anyone with your creation.
Remember, making homemade brittle takes practice. Each batch you make will get better, letting you try new nuts, spices, or flavors. It’s not just about the candy; it’s about sharing a special moment with loved ones during the holidays.
Your skills in making peanut brittle show the joy of home cooking. So, get your ingredients ready, trust yourself, and enjoy making a timeless treat that will be remembered for years.
FAQ
How long does it take to make peanut brittle?
Making peanut brittle takes about 30-45 minutes. This includes getting ready and cooking. The cooking itself takes 15-20 minutes. After that, you need to cool it for 30-60 minutes before breaking it into pieces.
Can I use different nuts instead of peanuts?
Yes, you can! You can use almonds, cashews, pecans, or mixed nuts instead of peanuts. Make sure the nuts are raw and unsalted for the best taste and texture.
What’s the most common mistake when making peanut brittle?
The biggest mistake is not watching the temperature closely. If it’s not at the right temperature, the brittle might be too soft or too hard. Using a candy thermometer is key to getting it just right.
How long can I store homemade peanut brittle?
Homemade peanut brittle can last up to 2 weeks in an airtight container. Keep it in a cool, dry place to keep it crisp. Avoid humidity and heat to prevent it from getting sticky.
Is it safe to make peanut brittle with children?
Making peanut brittle can be fun, but it’s very hot and can burn. Children should watch closely but not touch the hot sugar. Adults should handle the hot parts.
Can I make peanut brittle without a candy thermometer?
You can try making it without a thermometer, but it’s harder to get it right. If you don’t have one, you can use the cold water test to check the sugar’s hardness.
Is peanut brittle gluten-free?
Most peanut brittle recipes are gluten-free. They usually have sugar, corn syrup, peanuts, and baking soda. But always check your ingredients and avoid cross-contamination if needed.
Can I make peanut brittle ahead of time for holiday gifts?
Yes! Peanut brittle is a great gift to make ahead. You can make it up to two weeks before, store it, and then package it in festive tins or bags. It’s a delicious homemade gift that everyone will love.

